
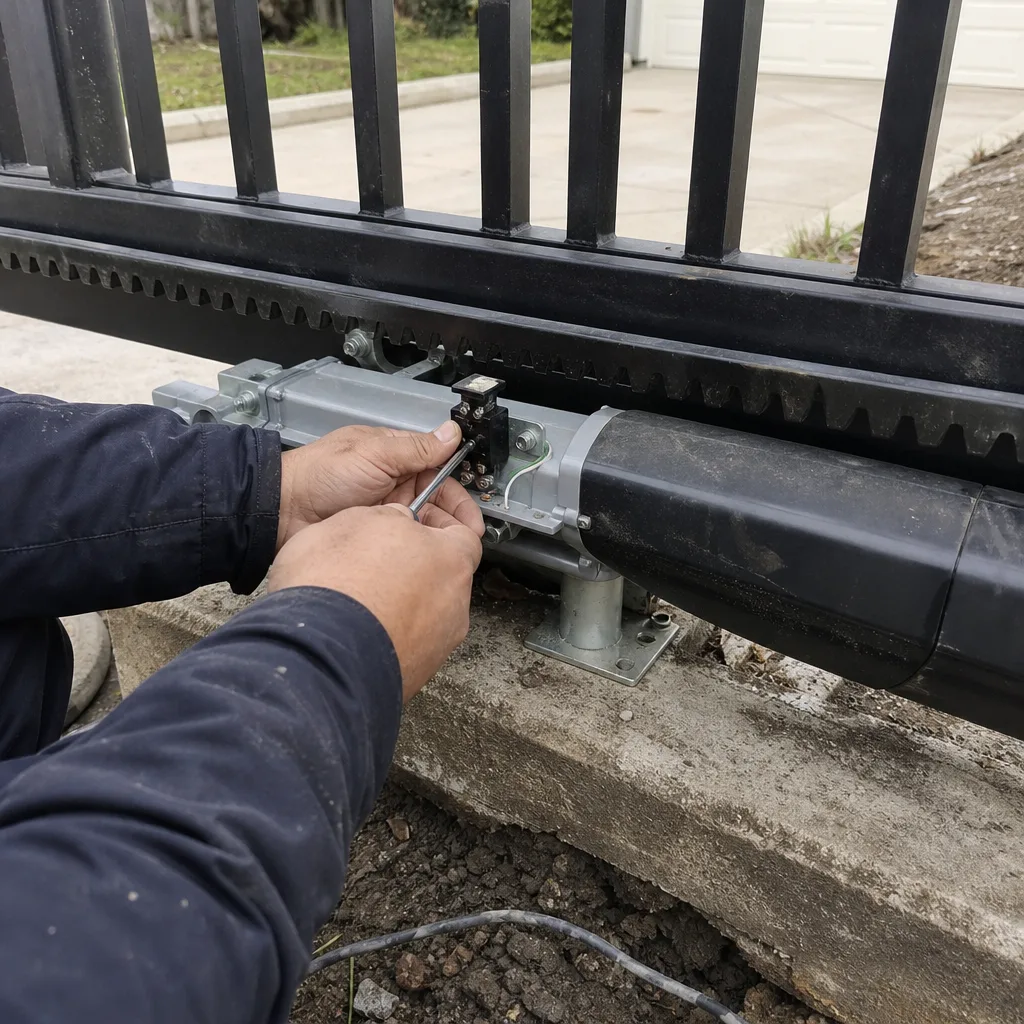
Last updated November 16, 2026
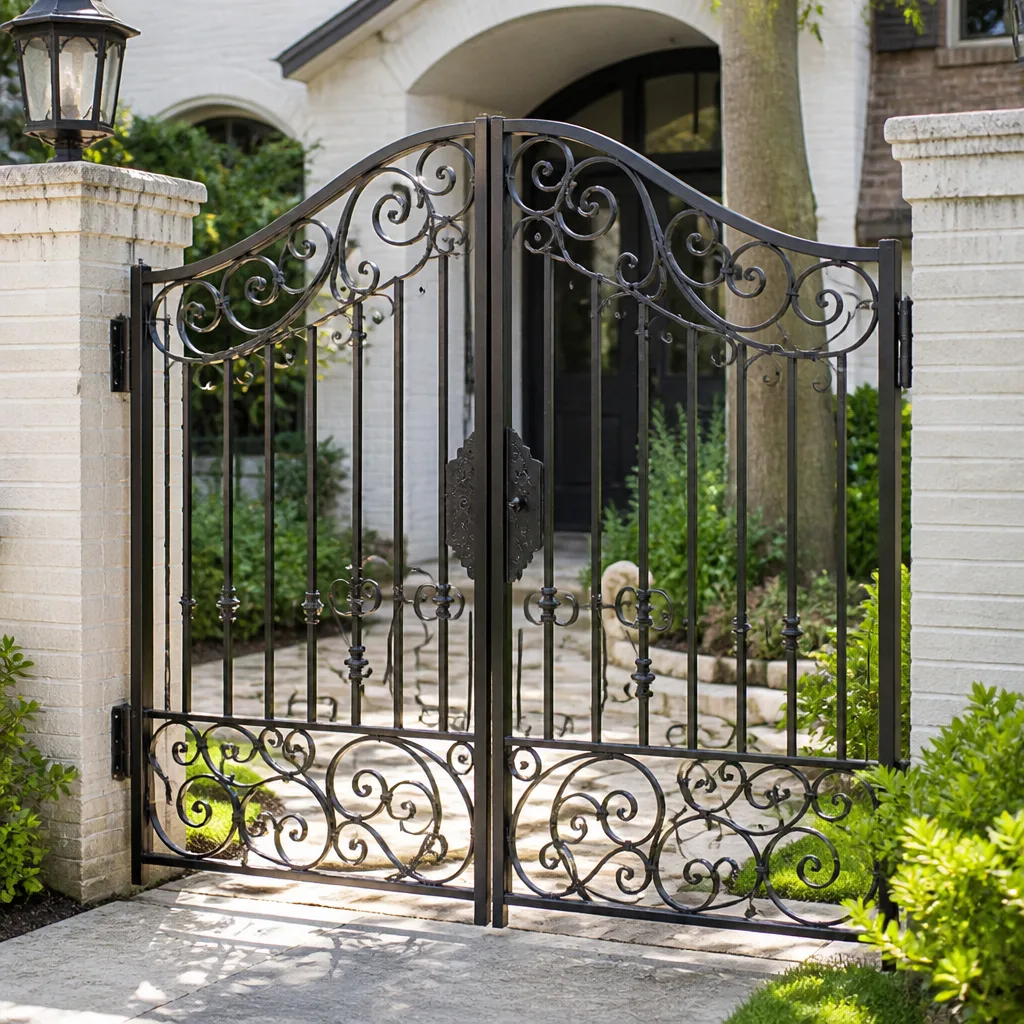 Wrought iron
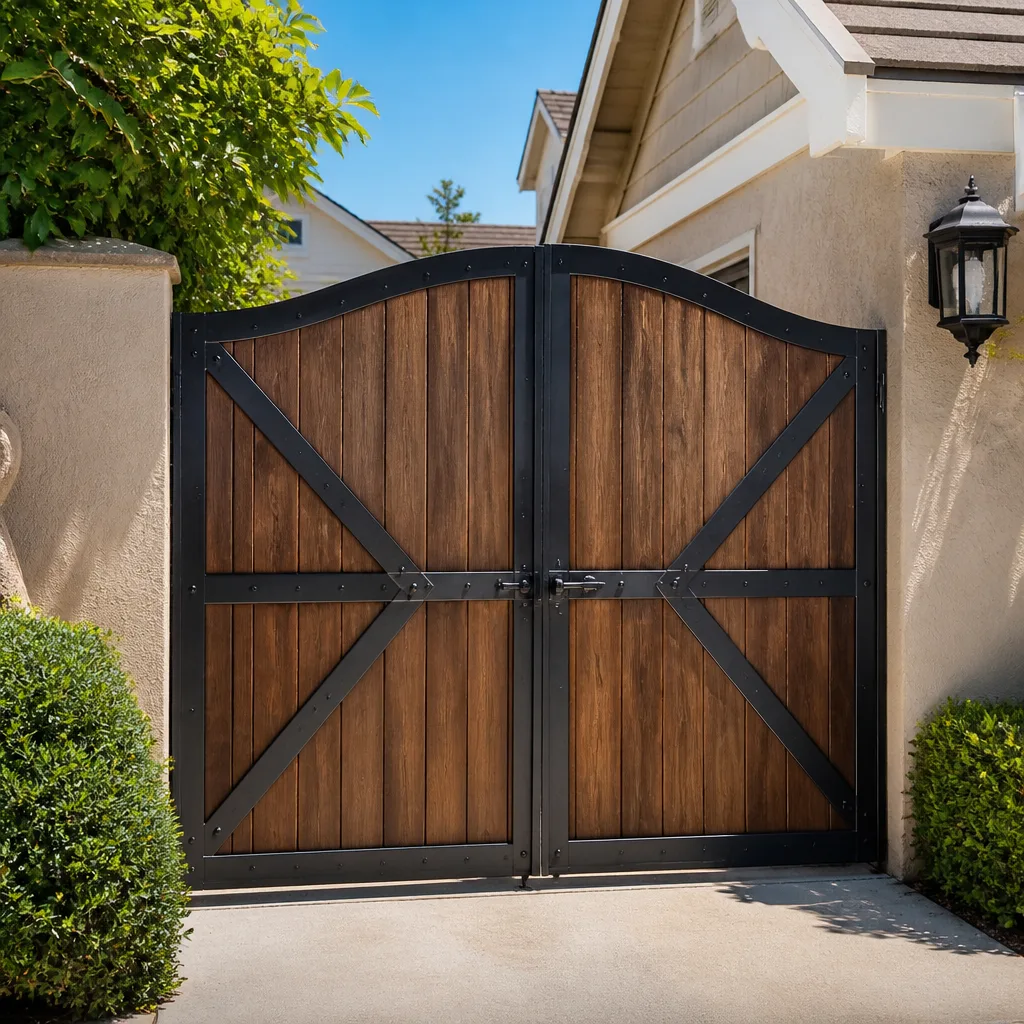 Wood & steel frame
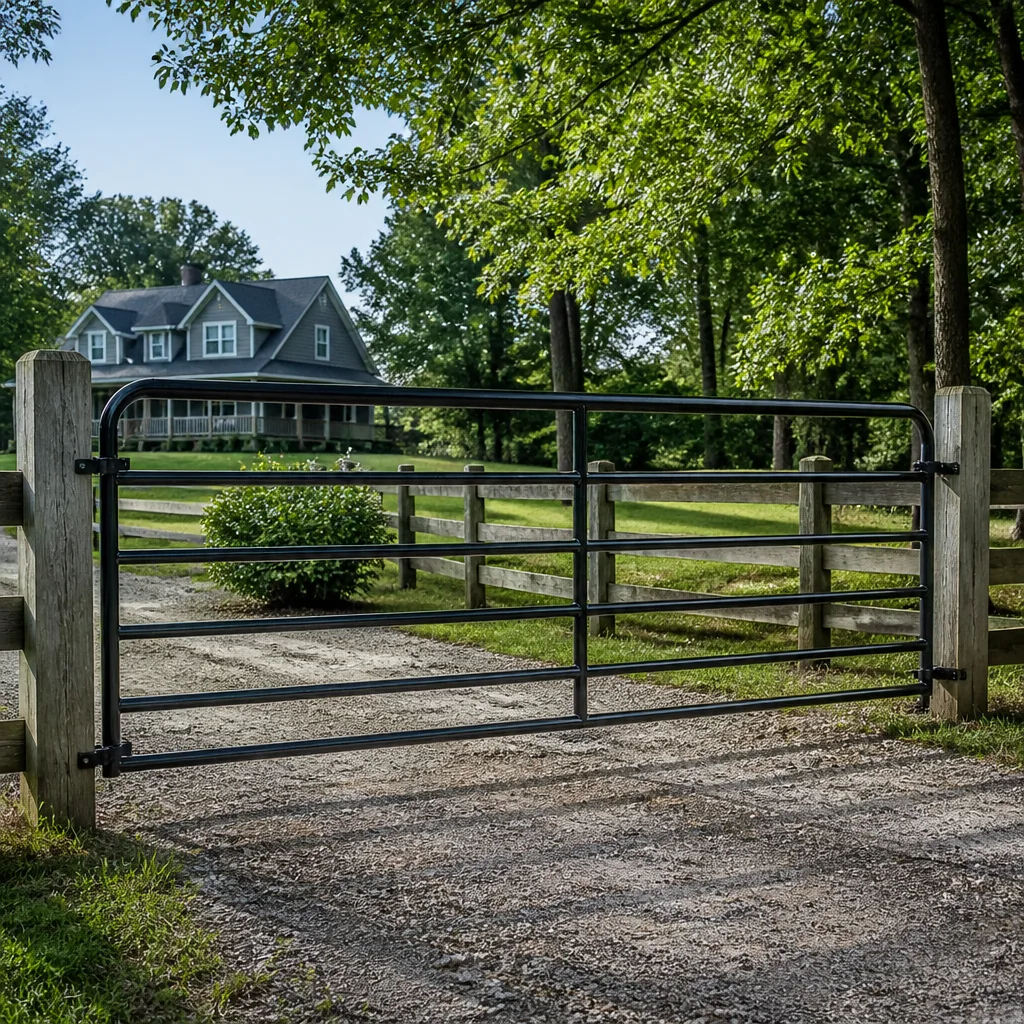 Farm & ranch
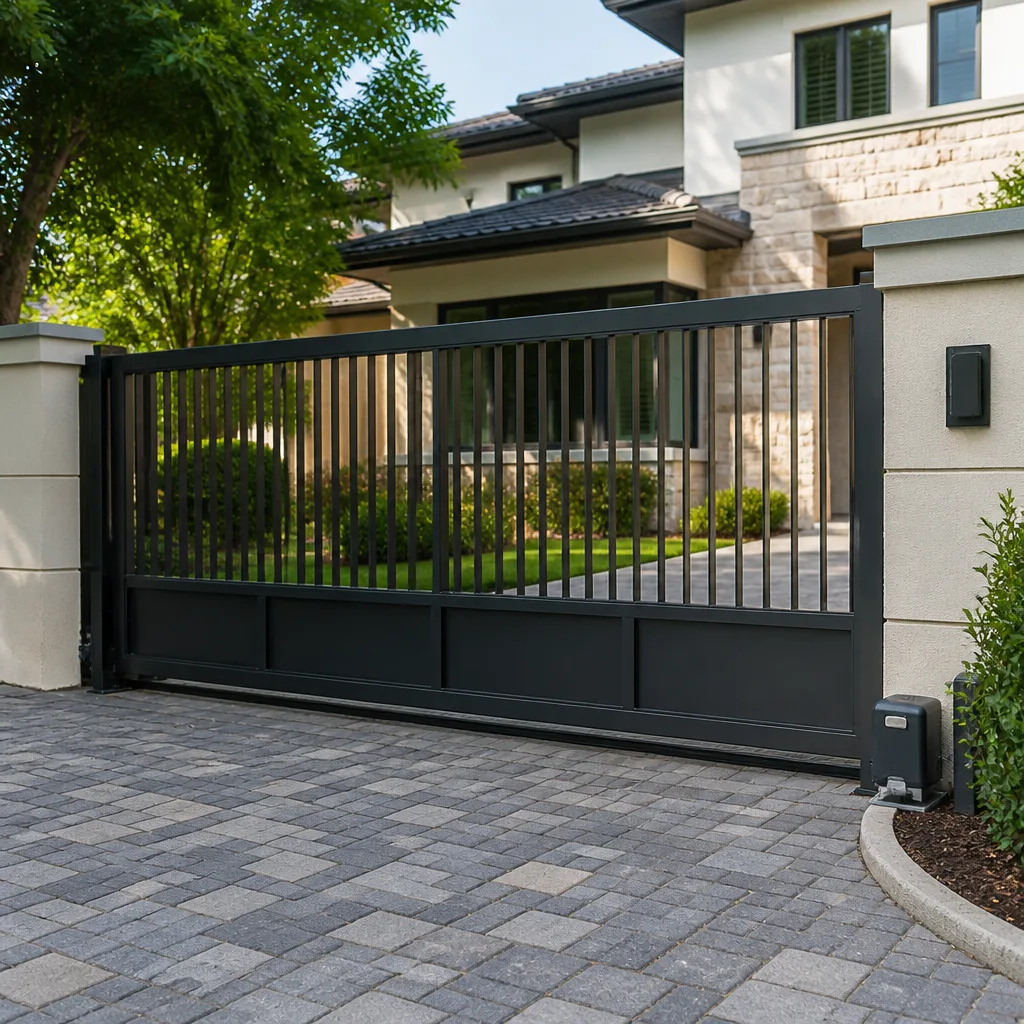 Sliding driveway gates
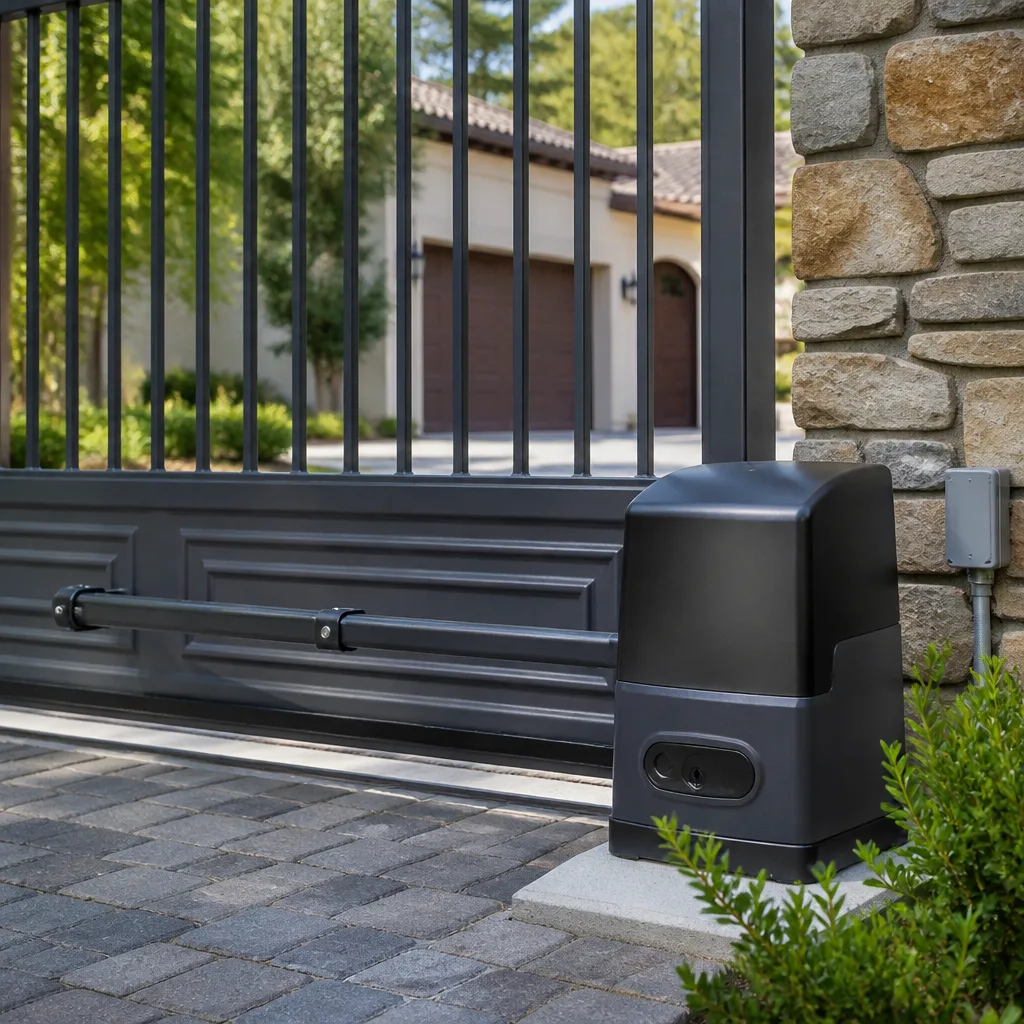 LiftMaster operators
Free on-site gate assessment - hinges, posts, and your LiftMaster or Nice gate operator checked before anything is quoted
The assessment is free and the quote is the invoice.
Get your free estimateGate Repair Maintenance Checklist for Joliet Homeowners
Here’s the counterintuitive truth about gate maintenance: the most damaging thing you can do is lubricate your gate first. When you spray hinges, rollers, or tracks before checking alignment, you trap mechanical problems in place. A gate that’s sagged or slipped off plumb gets masked by fresh grease, and the wear accelerates instead of slowing down. The right order is structural, then hardware, then electronics, and it matters more in Joliet than in most places because our freeze-thaw cycles work on gate posts all winter. This guide gives you a maintenance checklist built around that sequence, the seasonal calendar that fits Joliet, and the specific tolerances that tell you a gate is about to fail.
Quick Answer
A gate maintenance checklist should be done in this order: inspect structural integrity first (posts, hinges, panel alignment), then hardware (hinges, rollers, latches), then electronics (operator, control board, safety devices), then lubricate last. In Joliet, schedule your deepest inspection in early spring after freeze-thaw and again in late fall before the ground hardens. Measure hinge gap, post plumb, and ground clearance at every inspection so you can spot trends, not just current problems.
Styles & brands we work with
- Wrought iron
- Wood & steel frame
- Farm & ranch
- Sliding driveway gates
- LiftMaster operators
Table of Contents
- Why Inspection Order Matters More Than Frequency
- Step 1: Structural Inspection (Posts, Panels, Hinges)
- Step 2: Hardware Inspection (Rollers, Latches, Tracks)
- Step 3: Electronics and Operator Inspection
- Step 4: Lubrication Done Right
- The Joliet Seasonal Maintenance Calendar
- The Tolerances That Predict Failure
- Documenting Your Gate Over Time
Why Inspection Order Matters More Than Frequency
We’ve seen gates fail early not because the owner skipped maintenance but because they did it in the wrong sequence. Lubricating a gate that’s out of alignment hides the symptom, and by the time the operator starts straining or the hinges start squealing through the grease, the underlying problem has compounded. A sagging post gets a fresh coat of grease on the roller, the roller keeps riding the wrong line, and six months later the hinge itself is bent and the panel is catching the ground.
The correct sequence is structural → hardware → electronics → lubrication. Each layer tells you something about the layer above it. If a post is out of plumb, you don’t bother diagnosing the operator yet, because the operator is likely fine and the frame is the problem. If the hardware is loose on a straight post, you know the fasteners need attention and the frame doesn’t. If the structure and hardware check out and the gate still misbehaves, then you’re in electronics territory: control board, safety loops, limit switches. Following that order for every inspection on your Joliet property prevents the compounding effect that turns a forty-dollar hinge replacement into a full panel rebuild.
This matters even more for electric gates, where an operator that’s constantly fighting a misaligned panel burns out motors and control boards far ahead of schedule. If your gate is automated and you’ve never had a system-focused inspection, our electric gate repair team works with control boards, loop detectors, and motor assemblies directly, which is a different skill set from general gate hardware work. Getting the order right at the inspection stage is what protects the expensive components.
Step 1: Structural Inspection (Posts, Panels, Hinges)
Structural inspection comes first because everything downstream depends on it. On a swing gate, the hinge post carries the full weight of the panel and absorbs the wind load every time the gate moves. On a slide gate, the track and the support posts determine whether the gate travels true. In Joliet, the freeze-thaw cycle between roughly November and March works on post footings all winter: soil expands when it freezes and settles when it thaws, and posts that were perfectly set can shift incrementally over years.
Work through this sequence at each structural inspection:
- Walk the full swing path with the gate closed and open, watching for the panel catching or dragging anywhere along the arc.
- Check post plumb with a level on two faces of each hinge post. A post that’s drifted out of plumb is the root cause of most sagging-gate problems.
- Inspect the panel for bowing, cracked welds, and loose pickets. Panels flex with temperature swings, and a bowed panel can throw off every downstream measurement.
- Check hinge attachment points at both the post side and the gate side. Worn hinge plates usually show as elongated fastener holes rather than broken fasteners.
- Probe the soil around the posts after a hard freeze or thaw to look for heaving or settling. A post that’s moved in the ground needs footing attention, not just a hardware tweak.
If the structural inspection turns up a post that needs to be reset or a panel that needs to be straightened, that’s the point to call in a specialist rather than pushing on to the hardware checklist. Hardware adjustments on a compromised frame just move the problem around.
Step 2: Hardware Inspection (Rollers, Latches, Tracks)
Once you’ve confirmed the structure is sound, move to hardware. This is where most homeowners start their maintenance, and it’s the layer where the most small problems hide. On a slide gate, the rollers carry the panel’s weight along the track, and worn roller bearings show up as the gate riding low or wobbling side to side. On a swing gate, hinge wear shows up as the gate dropping at the latch edge, which you can measure as a widening gap between the panel and the post at the top of the hinge.
Check these hardware items every quarter:
- Hinge gap: Measure the gap between the gate panel and the hinge post at the top and bottom of the hinge. A difference of more than a quarter inch between top and bottom signals hinge wear.
- Roller condition: Spin each roller by hand. Any grinding, flat spots, or side-to-side play means replacement.
- Track condition: Look for dents, debris, and rust on a slide gate’s track. A dented track will wear rollers out quickly.
- Latch and strike plate: The latch should engage cleanly with no forcing. If you have to lift the gate to latch it, the panel has dropped and the hinges are the cause.
- Fasteners: Check that all hinge, roller, and bracket fasteners are snug. Do not overtighten; loose is better than stripped.
Hardware problems are where the maintenance order shows its value. If you lubricate the rollers before checking them, grit gets trapped in the grease and the roller wears faster than if you’d left it alone. Inspect first, then lubricate only what you’ve verified is working properly.
Step 3: Electronics and Operator Inspection
Electronics come third because the operator is usually the innocent party. When a gate fails to open or close, the operator gets blamed first, but in our experience the operator is often reacting to a mechanical problem upstream. Safety loops that keep tripping, limits that keep drifting, and motors that keep overloading are all signs that the panel is fighting the drive. Check structure and hardware first, and you’ll save yourself a lot of diagnostics on the electrical side.
For any gate with an electric operator, work through this electronics check on a monthly basis if the gate is in daily use:
- Test every safety device. Interrupt the photo-eye beam, step on the safety loop, and press the edge sensor to confirm each one stops or reverses the gate.
- Watch the full open and close cycle. Note the speed, listen for straining or hesitation, and confirm the limits stop the gate in the right position.
- Check the manual release. Every operator has a manual release for power outages. Confirm yours engages and releases smoothly, and that the gate can be moved by hand once released.
- Inspect the control board housing. Look for water intrusion, insect nests, and loose terminal connections. Joliet’s temperature swings and summer storms make the housing enclosure a common failure point.
- Test the battery backup if your system has one, since backup batteries age even when they aren’t used.
We work regularly with operators from BFT, Linear, and Ghost Controls, and each family of operators has its own quirks in how the safety devices and limits behave. If your system is a brand you don’t recognize, that’s fine; the inspection logic is universal, but diagnosis of a specific fault usually needs the right documentation and the right test tools.
Step 4: Lubrication Done Right
Lubrication is last for a reason. Once you’ve confirmed the structure, hardware, and electronics are all healthy, lubrication reduces friction without hiding any problems. The wrong lubricant, though, is worse than no lubricant at all.
WD-40 is the wrong choice for most gate applications. It’s a solvent with a light oil carrier, and it attracts grit, especially on slide gate tracks where dust and debris collect. Once grit mixes with the oil film, the roller or hinge wears faster than it would have if you’d lubricated nothing. The same goes for most general-purpose spray lubes. For gate hardware, use a proper lithium or synthetic grease on hinge pins and roller bearings, and use a dry-film lubricant on slide gate tracks in dusty conditions.
- Hinge pins and roller bearings: a small amount of lithium or synthetic grease, applied with a grease gun or a light brush, wiped to remove excess.
- Slide gate tracks: dry-film lubricant or nothing at all, and sweep the track clean before applying.
- Latch mechanisms: a light oil as a rust preventive, not a lubricant, applied sparingly.
- Operator drive chains (if exposed): chain-specific lubricant, applied sparingly and wiped.
- Never lubricate: safety loops, control board terminals, or any electrical contact.
The Joliet Seasonal Maintenance Calendar
A generic Midwest gate calendar says “mow in spring, winterize in fall,” and that’s too blunt for a Joliet gate. Our actual seasonal behavior is different: a hard freeze that heaves a post in February is not the same event as the mud season soil movement in March, and both matter to the gate. Here’s a calendar built around what Joliet gates actually face.
Monthly (year-round): Test safety devices, watch the full open/close cycle, spot-check the hinge gap and ground clearance. Five minutes of attention each month catches most trend-based failures.
Quarterly (March, June, September, December): Hardware inspection, fastener check, roller and track condition, latch operation. Lubricate only the components you’ve verified.
Spring (March-April, after the last hard freeze): Full structural inspection. This is when freeze-thaw damage shows up, and it’s the right time to measure post plumb before the ground settles into summer. Reset any post that’s moved.
Late fall (October-November, before the first hard freeze): Full structural and electronics inspection. Clean tracks, clear debris from slide gate paths, and confirm the manual release is working before snow and ice season. Check the operator’s battery backup.
After any storm with significant wind or ice load: A quick structural visual, regardless of the calendar. Wind load on a swing gate stresses the hinge post more than any other event in Joliet.
For a broader view of what our gate repair team deals with across the seasonal cycle, or to schedule an inspection in a specific neighborhood, our Joliet page is the place to start. The neighborhoods along the Des Plaines River floodplain see more soil movement than high-ground areas, and gates in those areas benefit from more frequent post checks.
The Tolerances That Predict Failure
Most homeowners check a gate with their eyes and their hands: “does it feel loose?” That’s a fine first pass, but the actual numbers tell you what’s coming. Here are the tolerances we measure at every inspection, and what each one signals.
- Hinge gap difference (top vs. bottom of hinge): More than a quarter inch signals hinge wear. More than half an inch means the hinge should be replaced. Over one inch means the panel is dropping and the cause needs to be diagnosed before the hinge is replaced.
- Post plumb: Measure the plumb of each hinge post on two faces. Any measurable tilt away from level is a concern, and tilt that’s increasing between inspections is the dangerous sign.
- Ground clearance on a swing gate: Two to four inches at the swing path is the safe band. Below two inches the gate will catch on ice, snow, or debris. Above four inches looks sloppy and usually means the panel has dropped or the pivot has worn.
- Slide gate panel height at each end of the track: Measure the distance from the panel to the ground at the open and closed positions. A difference of more than a half inch means the gate is riding off level, usually a roller or track problem.
- Latch bite: The latch should engage with the full strike plate depth without lifting the panel. Any lift needed means the panel has sagged, regardless of what the hinge gap says.
Write each measurement down at every inspection. The number today tells you less than the trend over four inspections. A hinge gap that’s grown an eighth of an inch in a year is on its way to failure; a hinge gap that’s been steady for three years is fine even if it’s at the edge of spec.
Documenting Your Gate Over Time
A maintenance log turns a rough diagnosis into a precise one. When you call a specialist, “the gate doesn’t open right” is a starting point, but “the hinge gap has grown from an eighth inch to a half inch over the last six months” is a diagnosis. Trend data tells you when the problem started, whether it’s accelerating, and which part of the gate is actually the cause.
Keep a simple log for your Joliet property, whether it’s a single driveway gate or several gates on a rental property:
- Date of every inspection. Include full structural inspections, quarterly hardware checks, and monthly electronics tests.
- Measurements for hinge gap, post plumb, and ground clearance. Same measurements every time so the trend is meaningful.
- Operator behavior notes. Any change in speed, sound, or limit position, no matter how small.
- Photos of the gate from the same angle each time. Photos catch what measurements miss, like a slowly bowing panel.
- Repairs made and parts replaced. Note the part, the date, and which gate it went on, especially if you have more than one.
When a technician arrives, the log lets them focus on the trend instead of spending the first half hour establishing a baseline. For multi-gate properties, that saved time matters. We work with landlords and property managers regularly, and the ones who keep logs get faster, more accurate diagnoses on average than the ones who don’t.
Common Mistakes to Avoid
- Lubricating before checking alignment. This is the single most common mistake we see, and it’s the one that costs the most in the long run. Grease on a misaligned gate locks the problem in place and accelerates wear on the very parts you were trying to protect.
- Using WD-40 on slide gate tracks. It attracts grit, and grit accelerates roller wear. A dry-film lubricant or a clean, unlubricated track is better. In Joliet, the spring dust and pollen season makes this worse than a dry-climate track.
- Ignoring small ground clearance changes. A gate that’s dropped a half inch over a winter isn’t a cosmetic problem, it’s the first sign of post movement or hinge wear. Catching it at the half-inch mark saves the panel; catching it at the two-inch mark usually means hinge replacement.
- Skipping the post-freeze and pre-freeze inspections. Joliet’s freeze-thaw cycle is the single biggest driver of gate problems here. A gate that’s perfect in October can be badly out of plumb by March, and the spring inspection is what catches it before the operator starts straining.
- Testing safety devices by pressing the button and assuming it works. Interrupt the beam, step on the loop, press the edge. Confirming the button works isn’t confirming the safety device works.
- Replacing the operator when the panel is the problem. A straining operator on a misaligned gate looks like an operator failure. It usually isn’t. Diagnose structure and hardware before assuming the electronics need replacement, and if the gate is automated, get a specialist who works on operators directly.
- Not documenting the gate. Trend data is what lets a specialist diagnose in one visit instead of three. A five-minute log entry every inspection pays for itself the first time something goes wrong.
See the difference
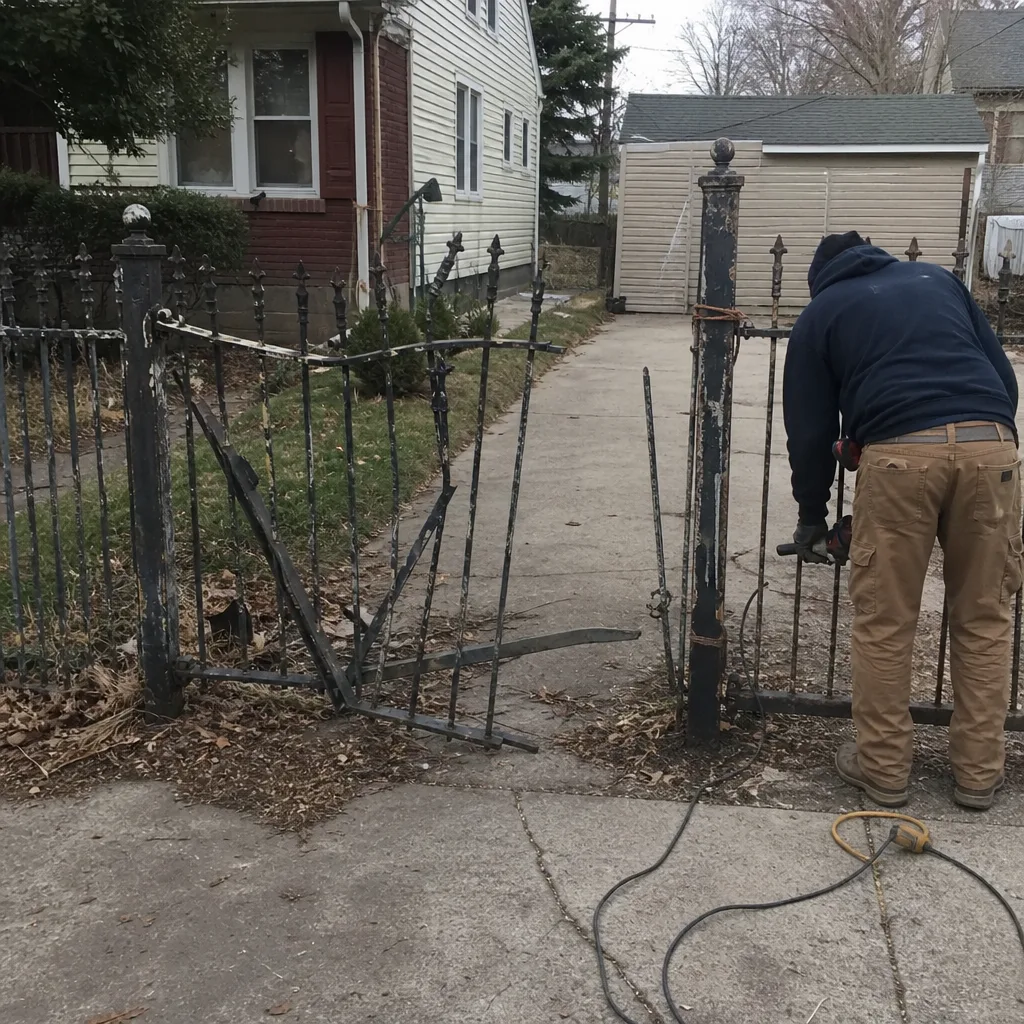 Before
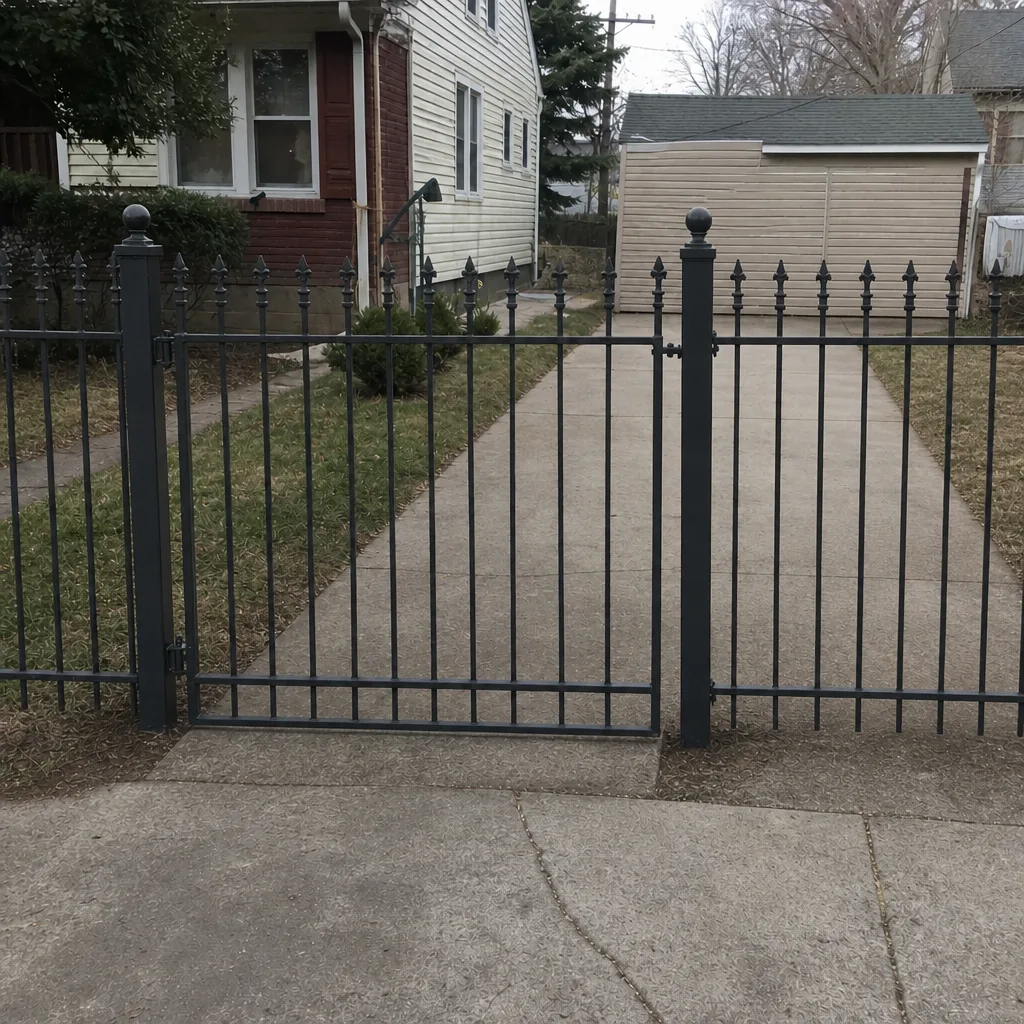 After
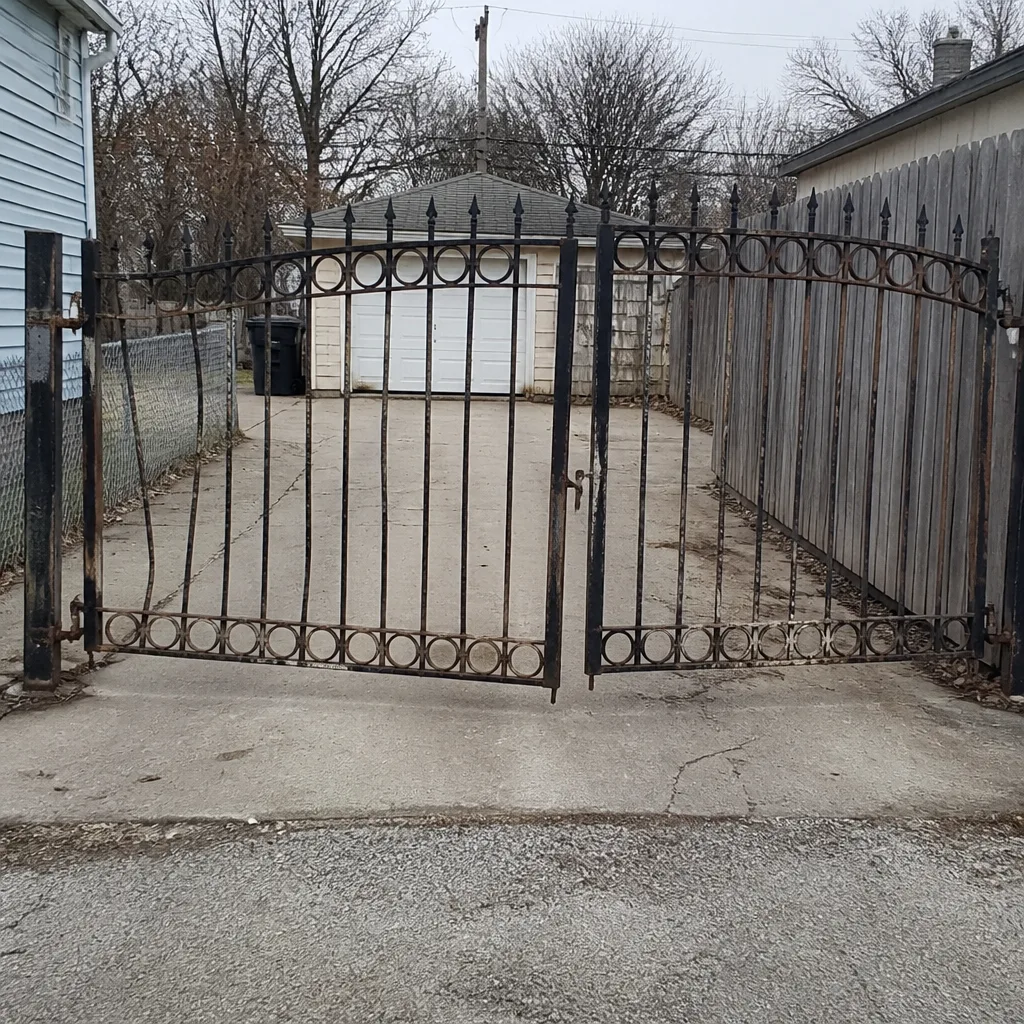 Before
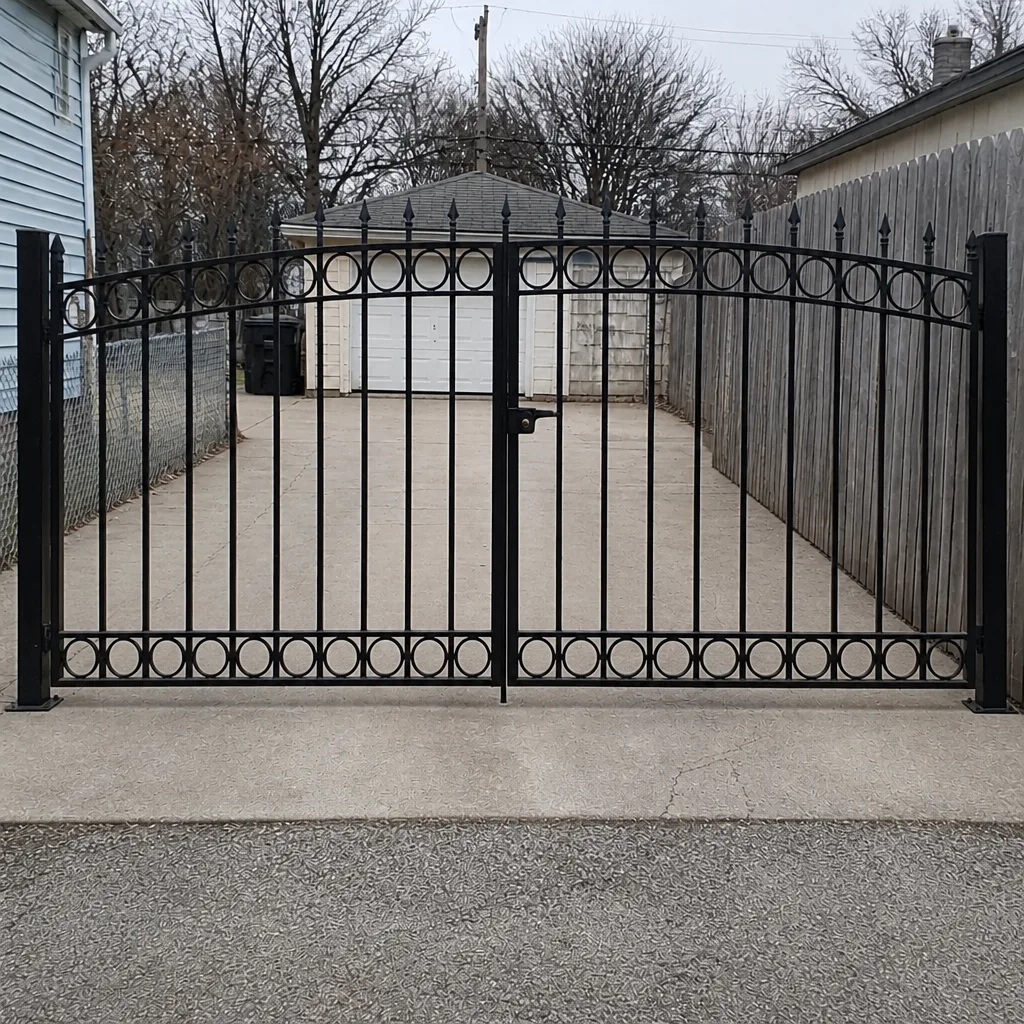 After
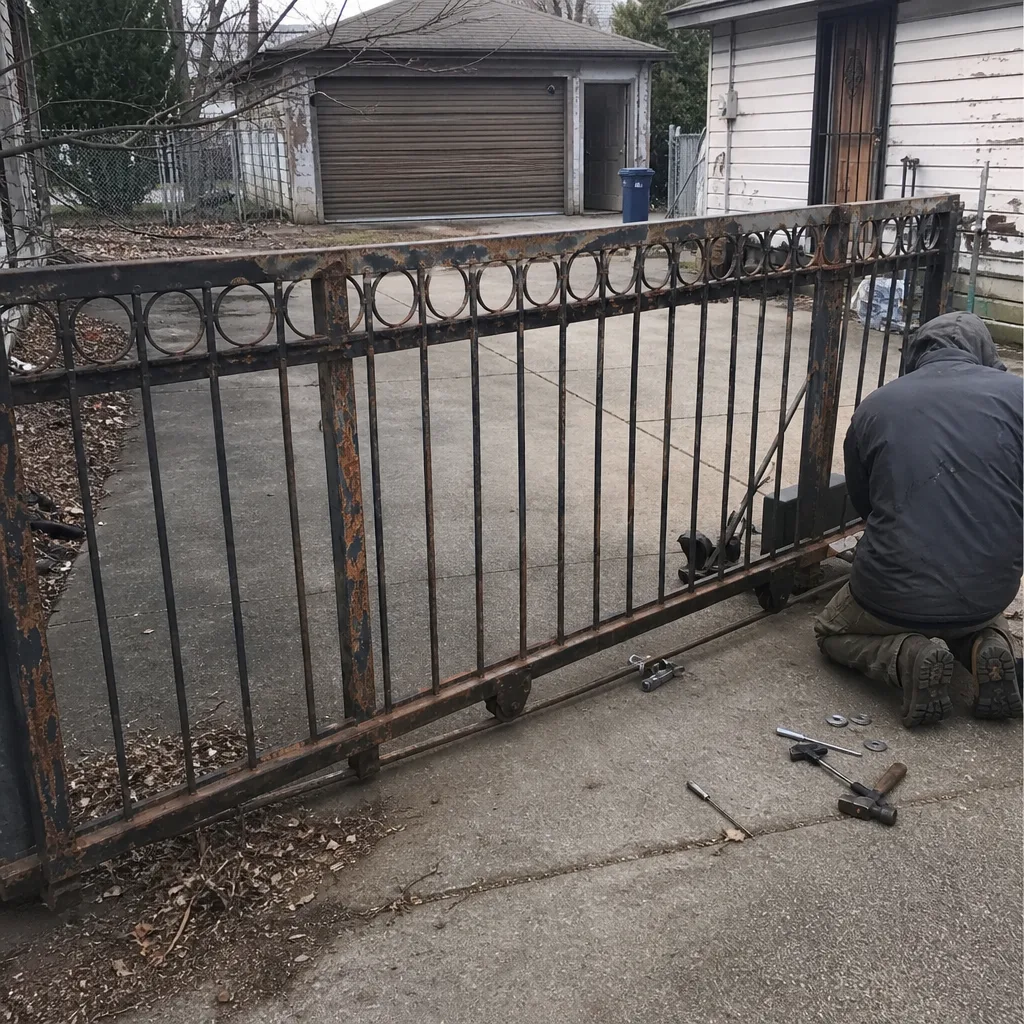 Before
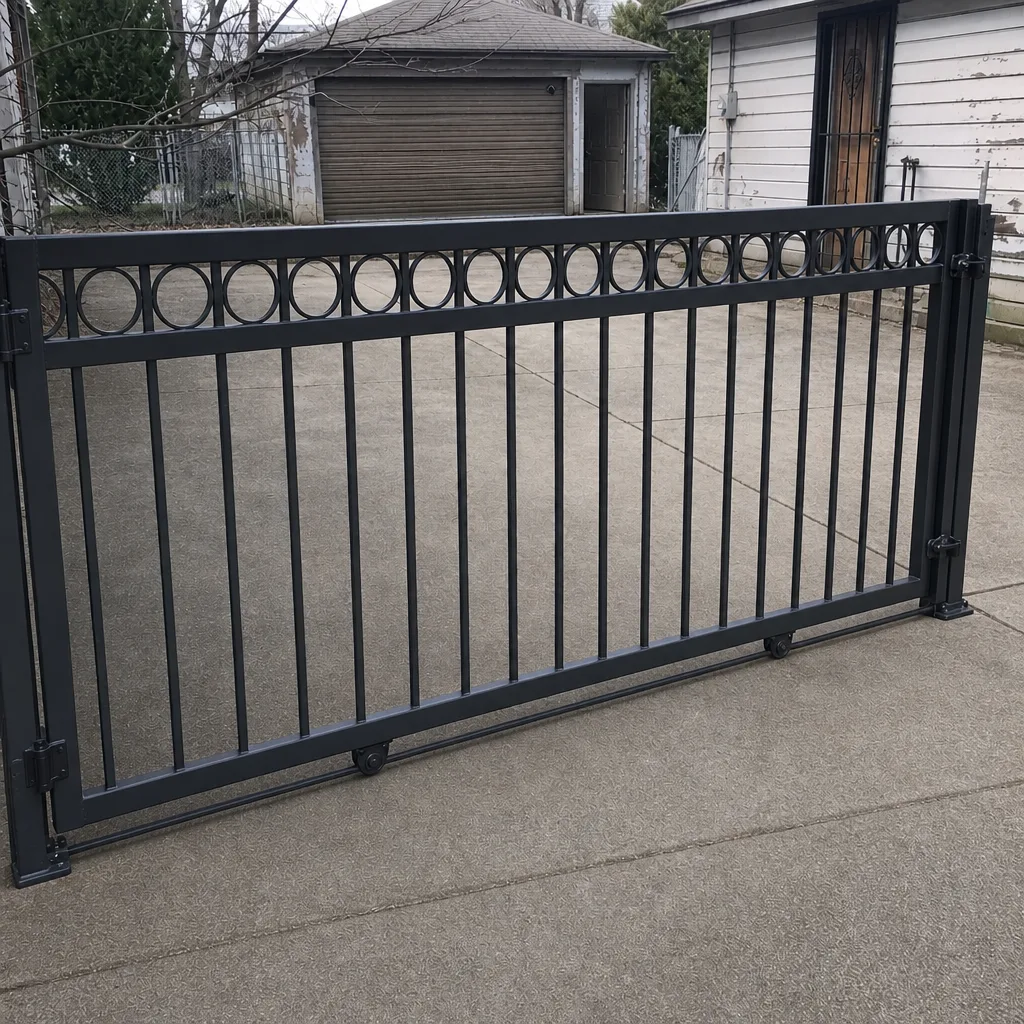 After
When to Call a Professional
Call a specialist when you find any of the following: a post that’s measurably out of plumb, a hinge gap that’s grown between inspections, an operator that’s been straining or resetting its limits, a safety device that fails a live test, or a gate that’s failed to open or close and won’t reset after a manual cycle. If the gate has been hit by a vehicle or a heavy wind event, don’t run the operator until a structural inspection is done, since the drive can bend the panel further.
Also call if you don’t recognize the operator brand or the control board. We work with LiftMaster, FAAC, BFT, Linear, Viking, Ghost Controls, DoorKing, Elite, and Mighty Mule, which covers most of what Joliet residents own, but if your system is outside that list, we’ll tell you upfront rather than guessing at the diagnosis. Our technicians have up to 13 years of experience with gate-specific repairs. Gate Repair Joliet offers free estimates in Joliet – call (855) 360-8227. We answer 24/7. Fast dispatch from 7am to 7pm, Sunday through Friday.
Frequently Asked Questions
Twice a year for the full structural inspection, in early spring after the last hard freeze and in late fall before the first, plus a monthly five-minute check of the operator and safety devices. The spring and fall inspections are what catch freeze-thaw damage before it compounds. Call (855) 360-8227 for a free estimate on any repair the inspection turns up.
Freeze-thaw cycles work on post footings all winter, and posts that were perfect in the fall can be measurably out of plumb by March. The gate then fights the operator or binds on the hinges, which looks like a new problem but is really a seasonal one that a spring inspection catches. Call (855) 360-8227 for a free estimate on post or hinge work.
No, not on most gate components. WD-40 attracts grit, and on slide gate tracks the grit accelerates roller wear rather than reducing it. Use lithium or synthetic grease on hinge pins and roller bearings, and a dry-film lubricant or nothing at all on slide gate tracks. If you’re unsure which lubricant your gate needs, call (855) 360-8227 for a free estimate and we’ll walk you through it.
Hinge gap at the top and bottom of each hinge, post plumb on two faces of each hinge post, and ground clearance at the latch side for a swing gate or panel height at each end for a slide gate. Write the numbers down every time so you can see the trend. A trend matters more than any single measurement. Call (855) 360-8227 for a free estimate if any measurement is drifting.
Usually not. A safety loop that trips repeatedly is often responding to a panel that’s out of alignment and pressing on the loop or the photo-eye path, not to a failed loop itself. Diagnose structure and hardware first before you replace electronics. If the loop itself is the problem, that’s an electric gate repair job. Call (855) 360-8227 for a free estimate.
No. We don’t offer maintenance plans, and a maintenance contract isn’t necessary for a residential gate. A one-time inspection priced per job after we look at the gate is enough for most homeowners, and for multi-gate properties we can price inspections per gate. Call (855) 360-8227 for a free estimate.
The Bottom Line
The order matters more than the frequency. On a Joliet gate, structural inspection comes first, then hardware, then electronics, then lubrication, and skipping that order is what turns a small problem into a compounding one. Measure the tolerances every time: hinge gap, post plumb, ground clearance. Adjust the seasonal calendar to Joliet’s actual freeze-thaw cycle, not a generic Midwest template. Document the trend so a specialist can spot a drifting hinge before it fails. And when a measurement is moving, or a safety device fails, or an operator is straining, call a gate-only specialist rather than pushing the diagnosis further. Your gate diagnosed, repaired, and moving again starts with a free estimate.
Call (855) 360-8227 for your free estimate. We answer 24/7. Fast dispatch from 7am to 7pm, Sunday through Friday.
Written by the team at Gate Repair Joliet.